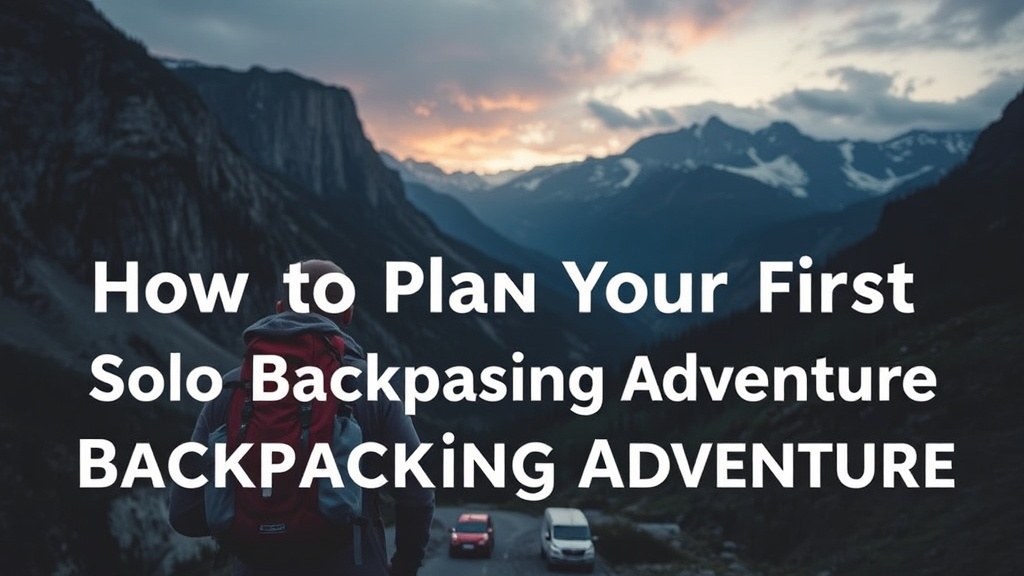
How to Plan Your First Solo Backpacking Adventure

What This Guide Covers
This guide walks through every step of planning a first solo backpacking trip — from choosing a beginner-friendly trail to packing the right gear and staying safe in the backcountry. Solo backpacking builds confidence, deepens the connection with wild places, and creates space for genuine solitude. It's not about proving anything — it's about preparation, smart choices, and knowing when to turn back.
Where Should Beginners Go for Their First Solo Trip?
Pick a trail with high traffic, reliable water sources, and cell coverage. National parks and well-maintained state parks offer the best combination of safety infrastructure and documented conditions.
The Grand Canyon's Bright Angel Trail (Arizona) works well for first-timers — ranger stations sit at regular intervals, water spigots operate seasonally, and dozens of hikers pass through daily. Great Smoky Mountains National Park offers similarly forgiving terrain with shelter systems and frequent trail junctions. Out west, Oregon's Three Sisters Wilderness provides stunning alpine scenery with maintained trails and clear signage.
Here's the thing: difficulty ratings vary wildly between sources. A "moderate" trail in Colorado means something entirely different than a "moderate" trail in the Appalachians. Check recent trip reports on AllTrails and read the comments section — that's where hikers mention washed-out bridges, aggressive bears, or misleading distance markers.
Worth noting: desert backpacking demands different skills than mountain or coastal routes. Water weighs heavy. Temperature swings hit harder. If the first trip happens in the Southwest, plan for carrying 4-6 liters between sources and hiking during cooler hours.
What Gear Do You Actually Need?
The short answer: less than marketing suggests. Quality basics beat fancy gadgets every time. A 65-liter pack stuffed with redundant gear weighs more than confidence — it creates decision fatigue and physical strain.
Start with the Big Three — shelter, sleep system, and pack. For shelters, the REI Co-op Trail Hut 2 ($199) offers reliable weather protection without the ultralight price tag. The Big Agnes Copper Spur HV UL2 ($450) costs more but saves nearly a pound — worth considering if the budget allows and the trail demands it.
Sleep systems depend entirely on expected temperatures. The Enlightened Equipment Revelation quilt (starting at $285) works across three seasons and packs smaller than traditional mummy bags. Pair it with a Therm-a-Rest NeoAir XLite sleeping pad ($185) — the R-value of 4.2 handles most conditions short of deep winter.
For packs, the Osprey Exos 58 ($260) remains the gold standard for load-carrying comfort. The adjustable torso length accommodates different body types, and the trampoline back panel keeps sweat manageable during desert hikes.
| Item | Budget Option | Weight | Premium Option | Weight |
|---|---|---|---|---|
| Shelter | REI Trail Hut 2 | 4 lbs 10 oz | Big Agnes Copper Spur HV UL2 | 3 lbs 1 oz |
| Sleep Bag/Quilt | Kelty Cosmic 20 | 2 lbs 13 oz | Enlightened Equipment Revelation | 1 lb 4 oz |
| Sleeping Pad | Klymit Static V2 | 1 lb 3 oz | Therm-a-Rest NeoAir XLite | 12 oz |
| Backpack | Gregory Paragon 58 | 3 lbs 12 oz | Osprey Exos 58 | 2 lbs 13 oz |
Navigation tools matter more than most beginners assume. A Garmin inReach Mini 2 ($400 plus subscription) provides two-way satellite messaging and SOS capability — non-negotiable for true solo travel. The subscription runs $15-65 monthly depending on message volume. That said, always carry a paper map and compass. Batteries die. Satellites glitch. Knowing how to read contour lines remains a fundamental skill.
The catch? Gear acquisition syndrome hits hard in this hobby. Resist the urge to buy everything before the first trip. Borrow. Rent from REI or local outdoor shops. Test systems on short overnight trips close to home before committing to a weeklong solo expedition.
How Do You Stay Safe Alone in the Backcountry?
Safety boils down to three principles: visibility, self-awareness, and conservative decision-making. Solo hikers lack the backup of a partner — so the margin for error shrinks considerably.
Share the itinerary with someone reliable. Include trailhead names, planned campsites, and a "worry time" — the hour when they should contact authorities if they haven't heard from you. Stick to that itinerary. Deviating without communication creates unnecessary search scenarios.
Water management separates experienced backpackers from beginners in trouble. In arid regions like the Sonoran Desert or Utah canyon country, cache water when possible or plan conservatively around known sources. The Sawyer Squeeze water filter ($37) handles most North American backcountry water — it's light, reliable, and field-maintainable. Always carry a backup — iodine tablets weigh nothing and work when filters freeze or clog.
Wildlife encounters require calm responses, not panic. In grizzly country (Montana, Wyoming, Alaska), carry bear spray — the Counter Assault Bear Deterrent ($60) provides the maximum legal range. Store food in bear canisters or hang bags properly. In black bear territory, hang bags 12 feet high and 6 feet from the trunk. In desert regions, scorpion checks inside shoes and sleeping bags prevent unpleasant surprises.
Weather kills more hikers than wildlife. Lightning above treeline demands immediate descent — no summit is worth cardiac arrest from a direct strike. Flash floods in slot canyons (think Utah's Zion Narrows or Arizona's Antelope Canyon) build quickly from distant rain. Check forecasts obsessively and respect closure warnings.
"The mountain will be there tomorrow. The decision to turn back — that's what keeps you alive to try again."
How Should You Plan Meals and Water?
Dehydrated meals simplify backcountry cooking. Mountain House and Backpacker's Pantry dominate the market — both offer two-serving pouches that require only boiling water. The Jetboil Flash stove ($125) boils water in under two minutes, making it ideal for simple meal prep. Expect 1.5-2 pounds of food per day for moderate activity levels.
Water planning requires math. The body needs roughly half a liter per hour of moderate hiking in mild conditions — double that for heat, altitude, or heavy packs. Map water sources carefully. Desert hiking might mean carrying 6+ liters between sources; mountain streams could allow traveling with just a single liter and filtering as needed.
That said, water sources dry up. Seasonal springs marked on maps might be mud holes by late summer. Call ranger stations for current conditions. Carry extra when uncertain — dehydration clouds judgment and increases injury risk.
Meal Planning Example (3 Days)
- Breakfast: Instant oatmeal with dried fruit and nuts (400 calories)
- Mid-morning: Energy bar or trail mix (200 calories)
- Lunch: Tortilla with peanut butter and honey (450 calories)
- Afternoon: Electrolyte drink mix and jerky (150 calories)
- Dinner: Dehydrated meal plus chocolate (700 calories)
This pattern hits roughly 1,900 calories — sufficient for most three-season conditions. Cold weather or high exertion demands more. Pack an extra day's food as emergency rations.
What Skills Should You Practice Before Going Solo?
Technical competence builds the confidence that keeps panic at bay. Practice these skills with experienced partners before attempting them alone:
- Navigation: Read topographic maps, use a compass, and verify GPS coordinates against physical terrain features.
- First aid: Treat blisters, sprains, and cuts. Know the signs of heat exhaustion, hypothermia, and altitude sickness.
- Shelter setup: Pitch the tent quickly in wind and rain. Practice in the backyard first — not during a thunderstorm at 10,000 feet.
- Water purification: Master the chosen filter system. Know backup methods (boiling, chemical tablets).
- Leave No Trace principles: Pack out all trash, dispose of waste properly, and minimize campfire impact. Review guidelines at Leave No Trace Center for Outdoor Ethics.
The psychological aspect surprises many first-time solo hikers. Nights alone hit different — every branch crack sounds louder, every shadow moves. This passes. Breathing exercises help. So does accepting that fear is part of the experience, not a signal to abandon the trip.
Start small. A single overnight near the car builds more competence than reading a hundred articles. Each successful trip expands the comfort zone incrementally. Within a season, weeklong solo traverses feel achievable — because the foundation was built properly, one night at a time.
Steps
- 1
Choose a Beginner-Friendly Trail and Research Thoroughly
- 2
Invest in Essential Gear and Test It Before You Go
- 3
Share Your Itinerary and Prepare Emergency Protocols